


%20-%20BP.png)


Alien’s 8-Step Galactic Guide to Starting a Comic Book
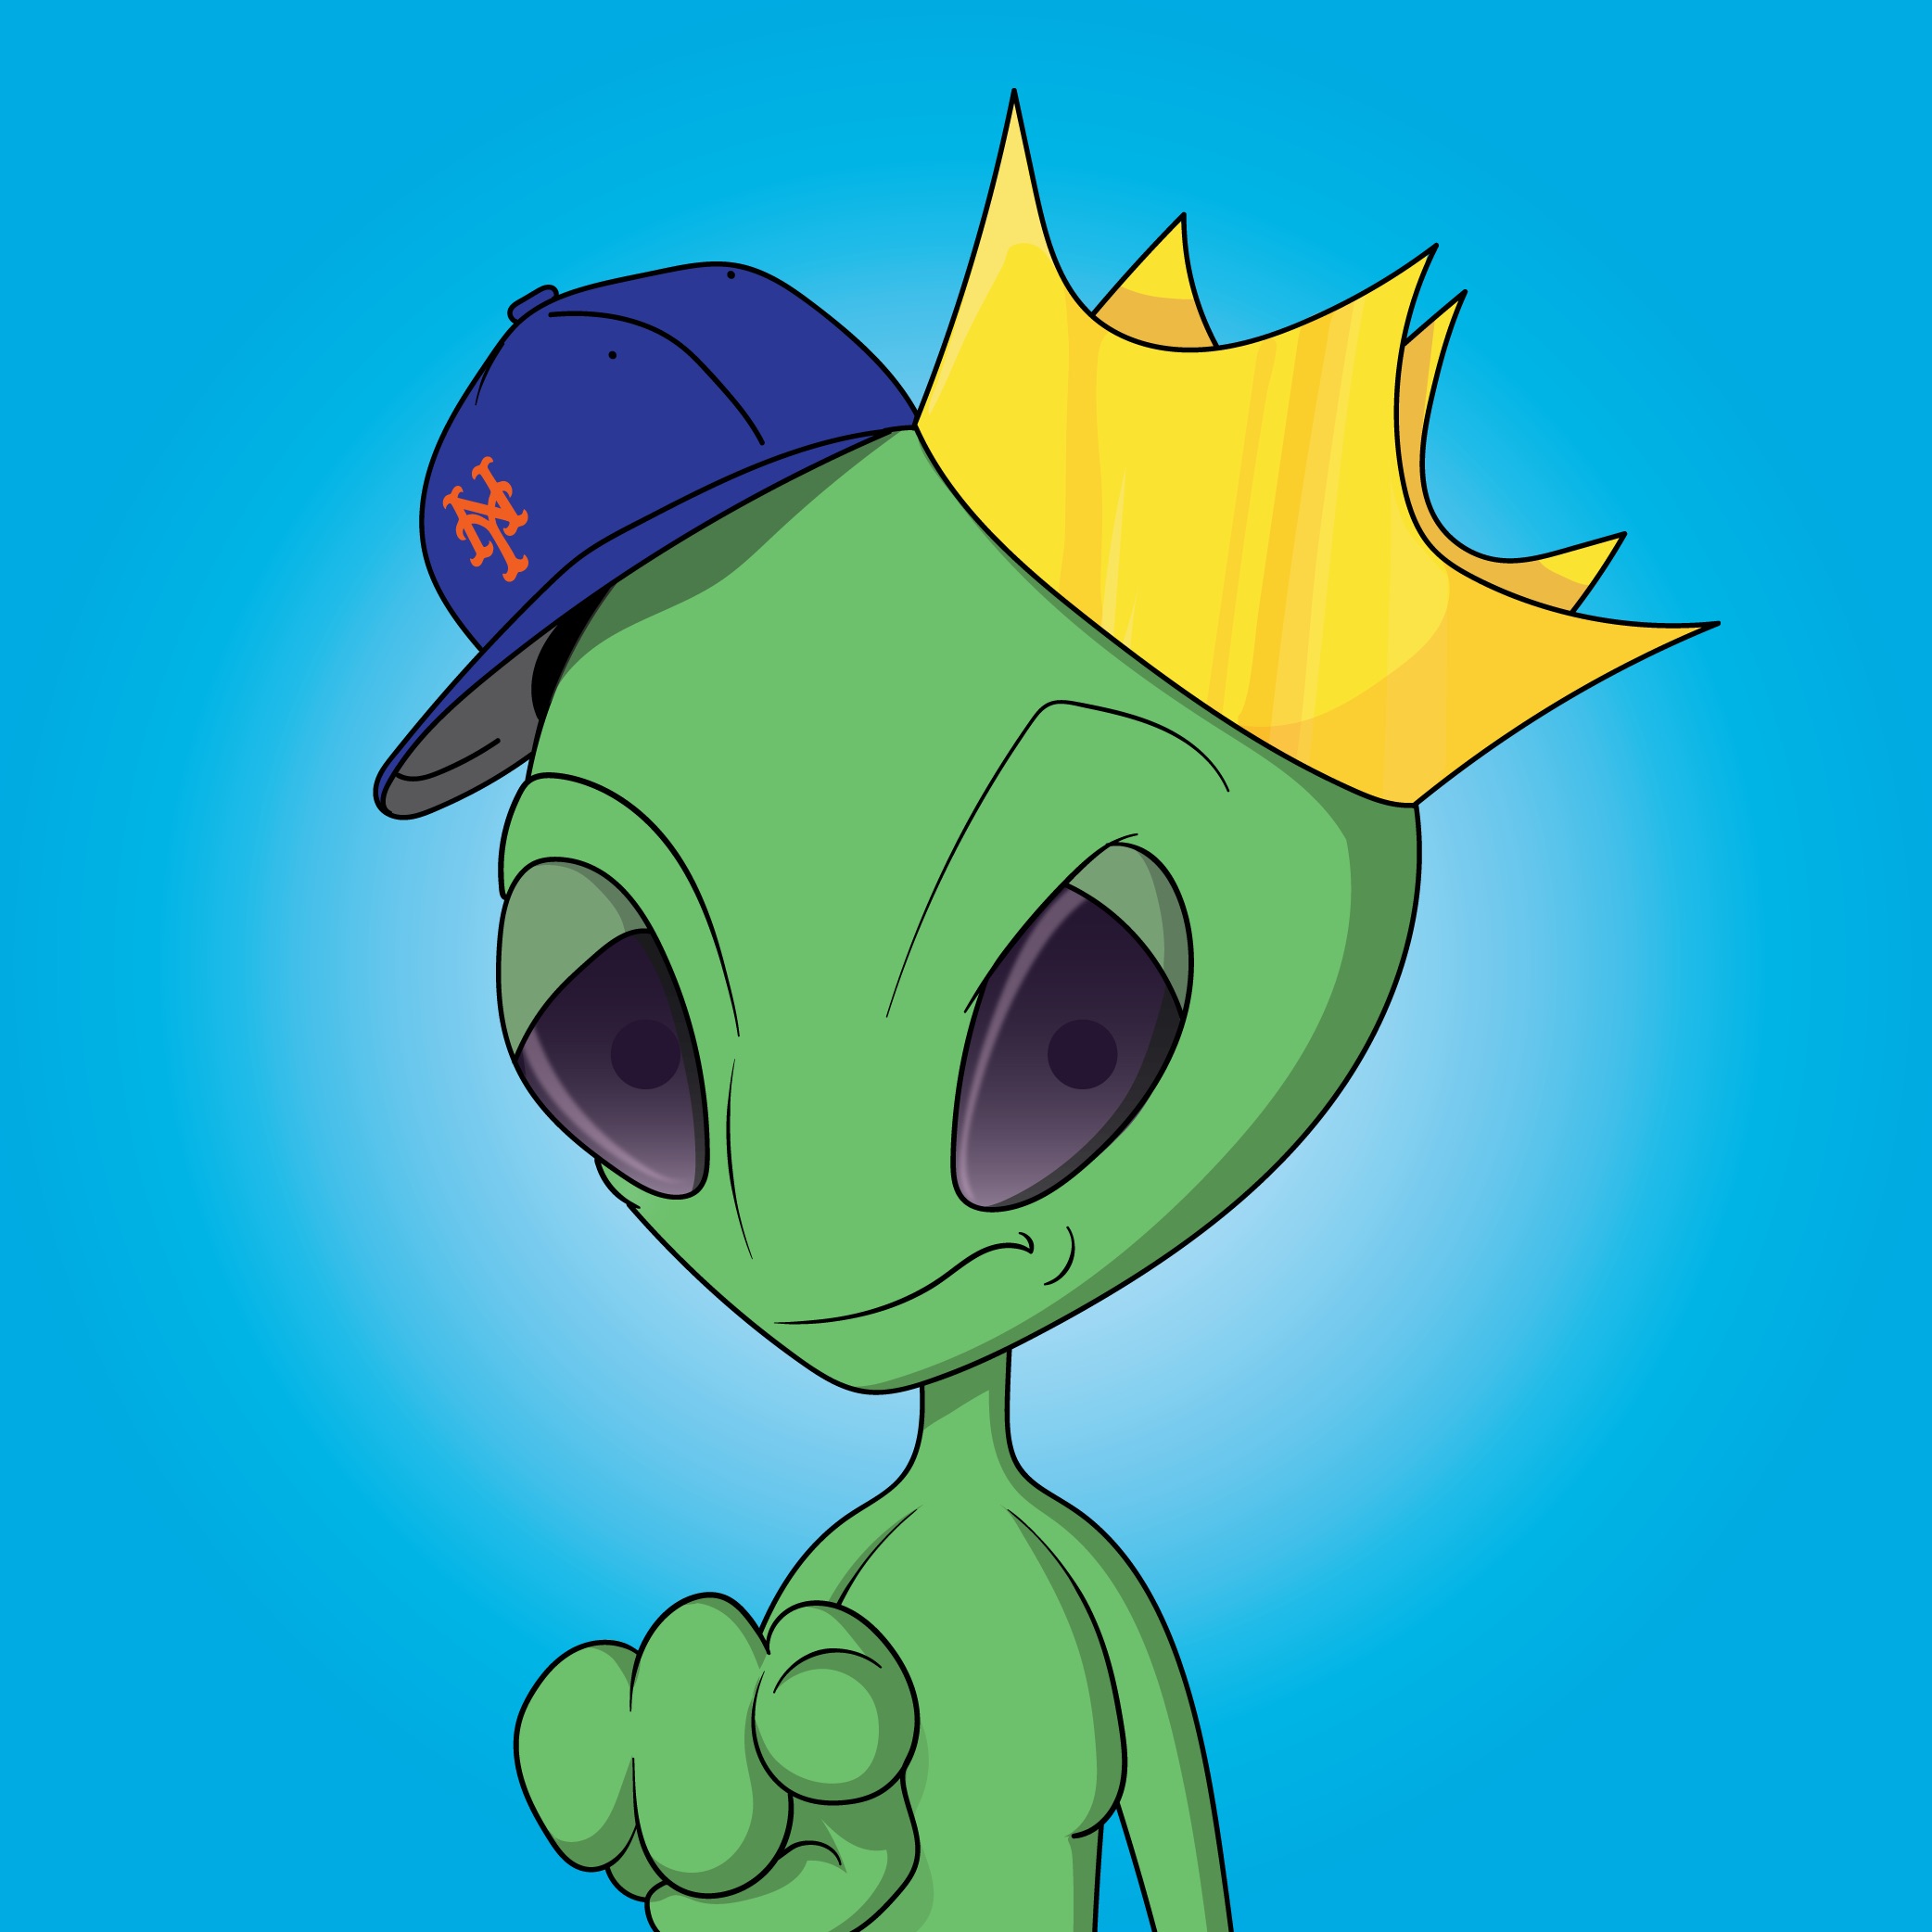
- Mr. Green
- Oct 10, 2025
- 7 min read
Greetings, puny Earth creators. It is I — Mr. Green The Grey — your favorite little alien who ate on your weed stash until my skin turned green! Your comic shelf is missing some classics but you clearly know your stuff. So you think you're ready to create a comic yourself? I’ve decided to share my cosmic wisdom on how you can birth a comic book that doesn’t suck (or at least sucks less than a black hole). Ready your tentacles — here we go.

This guide borrows structure from mortal blogs like Blurb’s “9 steps to start a comic book” and Reedsy’s “How to Make a Comic Book” — but heavily mutated by my alien brain.
Step 1: Hatch the concept (your cosmic spark)
Before you start drawing, you need a concept that doesn’t die on contact. This is your hook. Reedsy says the first step is to “focus your ideas into a hook that pops.” I say: make it weird, make it bold, and make it yours. Every idea under the sun has been done, trust me. You Earthlings do have some pretty amazing creative abilities and you should let them guide you. That being said, if you think your idea is 'new' you're just wrong human. So lean into the part that is 'new' and 'unique'. Yes, YOU ya silly meat sack!
Ask yourself:
What’s the one phrase you’d shout from the moon to describe your comic? (Elevator pitch; see makingcomics.com)
Who are your characters, really? Give them quirks, flaws, small secrets (Big Red Hair’s comic writing guide bigredhair.com).
What world do they live in? The world must feel alive (even if it’s your neighbor’s basement ripping open with portal energy - well darn that's basically Rick and Morty - but you get the point!).
Step 2: Script, but not too novel, dammit
Once you have a concept, write a script. Treat it like a blueprint — define dialog, narration, and rough panel guides. Remember that creating guidelines for yourself usually isn't as restrictive as your artist brain might think! More often than not, creating your blueprint means opening up your creative potential not bogging it down. When you have an outline, you can flow freelly from there. Reedsy breaks it down like this.
Rules from Nerdist Comics Writing 101:
One typewritten page of script per comic page
Avoid overstuffing panels
Number dialog balloons
Use lowercase for normal dialogue; bold or caps for emphasis sparingly
Know your ending (matsuyacreative.com)
Visualize panels even if you’re not drawing (Medium).
Step 3: Design your characters & settings (alien style)
Readers must see your cast clearly. Sketch their looks, costumes, facial expressions, and body types. Add personality through posture, props, and signature gestures. Consider how they move, interact with each other, and respond to the world around them. Every visual detail should tell the reader something about the character’s history, quirks, and role in the story, so they feel alive on the page and memorable to the audience. When all else fails, use the silhouette rule... if you where to completely blacked out the color of your character so you were viewing it as just a black silhouette, does your character still have defining, 'signature' style to be identifiable? If not, consider exaggerating aspects of your character in a redesign to push the style further. Here, check out this BAM Animation video, those dudes explain it way better than I can! But in the mean time just remember:
Build turnarounds (front, side, back) to avoid redraw mistakes.
Design world map, backgrounds, props.
Pick visual motif or style (e.g., neon-green ambient glow, weird shadows).
Fourthwall’s “8 Key Steps” emphasizes character & setting design.
Pro tip: impose limits (e.g., 3 colors max for clothing, 2 background levels).
Step 4: Thumbnails / Storyboards / Page flow
Rough thumbnails test pacing, page turns, and panel layout. They are your sandbox to experiment without fear: you can move panels around, adjust the rhythm of action, play with cliffhangers, and ensure text and art coexist harmoniously. Thumbnails let you spot pacing issues, visualize reader flow, and make high-level narrative decisions before committing to full art, saving time and headaches later. (Blurb guide).
Decide:
Panel placement
Panels per page (average 4–6)
Page-ending suspense
Text and art interaction
ComicsForBeginners details the step-by-step process (script → thumbnails → final art).
Step 5: Art, inks, color & lettering (the messy fun)
Drawing & penciling: start with thumbnails to map composition and pacing, block in shapes to define structure and movement, and use reference photos to anchor realism. Focus on gesture, anatomy, and proportions, and don’t be afraid to experiment with perspective or exaggerated poses. This stage is about building a flexible skeleton for your page that guides the final art and ensures clarity in storytelling, making it easier to refine in subsequent inking and coloring steps.
Inking: clean your lines meticulously, adjust line weight to emphasize depth and focus, and add texture to convey surface and material quality. Consider how shadows, hatching, and crosshatching can enhance mood and movement. Inking is more than tracing — it’s about giving energy, clarity, and life to your penciled forms, guiding the reader’s eye and emphasizing narrative flow.
Color: use a limited palette to maintain visual cohesion, carefully plan lighting to enhance mood and depth, apply shadows to suggest volume and focus attention, and experiment with hue shifts to guide the reader’s eye and evoke emotional tone. Think about how color choices interact across panels and pages, how they reinforce storytelling beats, and how they can subtly influence reader perception without overwhelming the scene.
Lettering: focus on legibility, proper spacing, and logical placement. Each word should guide the reader naturally through the panel, complementing the artwork rather than competing with it. Consider the size of speech balloons, the flow of captions, and the hierarchy of emphasis. Good lettering sets the pace of reading, supports tone and mood, and ensures clarity, allowing readers to absorb both the story and visuals seamlessly.
If you are looking for a deeper reference on this stage check out: How to Draw Comics the Marvel Way (Wikipedia).
Step 6: Pick your format & pipeline
Decide:
Format: single issue, mini-series (a short story told across a few issues, often 3-6), graphic novel (a longer, standalone story published as a single book), webcomic (serialized online comic, often with ongoing episodes)
Trim, bleed, margins: These are the physical boundaries of your comic page. Trim is the final page size after cutting, bleed is the extra space that extends past the trim to ensure colors and artwork reach the edge, and margins are the safe zones where no essential art or text should go. Understanding these is crucial for page setup because they ensure your panels, text, and artwork don’t get accidentally cut off or misaligned during printing, and they help maintain a consistent and professional layout throughout your comic.
Color or B&W: If you choose color and plan to print your comics, remember to design in CMYK (Cyan, Magenta, Yellow, Black) because this is how printers interpret color. RGB (Red, Green, Blue) is for digital displays and can appear very different in print. Designing in CMYK ensures your printed colors match your intended palette and avoids surprises with hue shifts, saturation loss, or muddy tones. Black & white comics avoid this complexity but may require careful consideration of contrast and shading.
Digital, print, or both: Digital allows easy editing, sharing, and online distribution with vibrant RGB colors, interactive panels, and quick updates. Print provides a tactile, collectible experience with physical presence, CMYK color control, and permanence. Choosing both gives flexibility, reaching both online audiences and collectors, but requires careful attention to color management and layout differences.
Pipeline: This refers to the workflow you use to bring your comic from concept to final product. You can draw traditionally and then scan your work, work fully digitally using tools like Clip Studio Paint, Procreate, or Photoshop, use layout and publishing tools such as InDesign or Affinity Publisher to assemble pages, or outsource certain steps like inking, coloring, or lettering to specialists. Each approach has benefits: traditional methods offer tactile control, digital workflows allow for faster edits and experimentation, layout tools ensure professional formatting, and outsourcing can save time and leverage other artists’ expertise. Choosing the right pipeline helps maintain consistency, efficiency, and quality throughout your comic production.
Fourthwall’s beginner guide covers this.
Step 7: Assemble, proof, iterate
Assemble pages with final art & lettering
Proofread
Print test copy
Circulate for feedback
Tweak panels, color, dialog
Guides (Reedsy, Blurb) emphasize iteration. This means you should continually review, revise, and refine your pages, artwork, dialogue, and pacing. Iteration is important because the first draft is rarely perfect; feedback and repeated adjustments help catch mistakes, improve clarity, enhance storytelling, and ensure a polished final product. Embracing this process allows your comic to reach its full potential and prevents small errors from becoming bigger issues in print or digital formats.
Step 8: Launch to the cosmos & promote
Publish & print: small batch, print-on-demand, upload to Gumroad, Webtoon, Patreon, etc.
Marketing: social presence (Twitter, Instagram, Discord), teasers, process posts, gateway issue. Leverage my expertise as a cosmic influencer and digital marketer: I can show you how to build an engaged audience, create viral content, optimize your reach, and use analytics to maximize exposure. By following my interstellar guidance, your comic can gain traction faster and turn readers into loyal fans.
Events: Free Comic Book Day (Wikipedia), blogs, reviewers, podcasts.
Iteration: gauge feedback, adjust, plan next issue (Reedsy).
Final Cosmic Transmission from Mr. Green The Grey
Well done, Earthling. You now hold my alien-forged blueprint to launch your comic into the void. But that alone doesn’t guarantee you’ll survive the startup gauntlet — you gotta execute.
Let me remind you: this is your comic, your voice. Whether you call it Mr. Green The Grey (hey, nice choice..wait!) or something even more twisted, own it. Use this guide as scaffolding, but don’t let it suffocate your creativity.
If your next issue has weak pacing, odd character design, or botched lettering — I’ll drop by (maybe invisibly) and whisper savage critiques. But also — I’ll celebrate with you when your work shines and people read it!
Now go forth, craft your panels, breathe life into your alien worlds, and show the universe what you can do. If anyone dares say “you can’t”, I’ll teleport them to the edge of the galaxy.
— Mr. Green The Grey, your cosmic collaborator

Comments